Wednesday, January 16, 2013

Red

So, the GF and I decided that it would be cool to have the theme of the car red and black. But my current dash LEDs are blue - that means it's time to change! They were put in by the previous owner and to his credit they were decent LEDs. Multiple LEDs per stick, and the light was pretty bright, but too bad the blue was a little weird/sickening.

Got these LEDs off 666DAN who can be found on the SAU forums or, his (no-longer-his) web store, Zero Point Electronics on ebay. Store is still alive, he just doesn't own it anymore. Good lights! As you will see.

To start off, found a short guide on SAU. No pics, only words, so I was basically working blind BUT was a good opportunity as was Friday night, to feel around and learn more about my car.

Took off the steering wheel/column cover and removed the glass/plastic in front of the dash.

Brought the dash forward - quite difficult, took me about 10 mins of shuffling, budging, nudging to get it out.

This is inside once I've disconnected the looms and removed the dash. Don't see this very often!

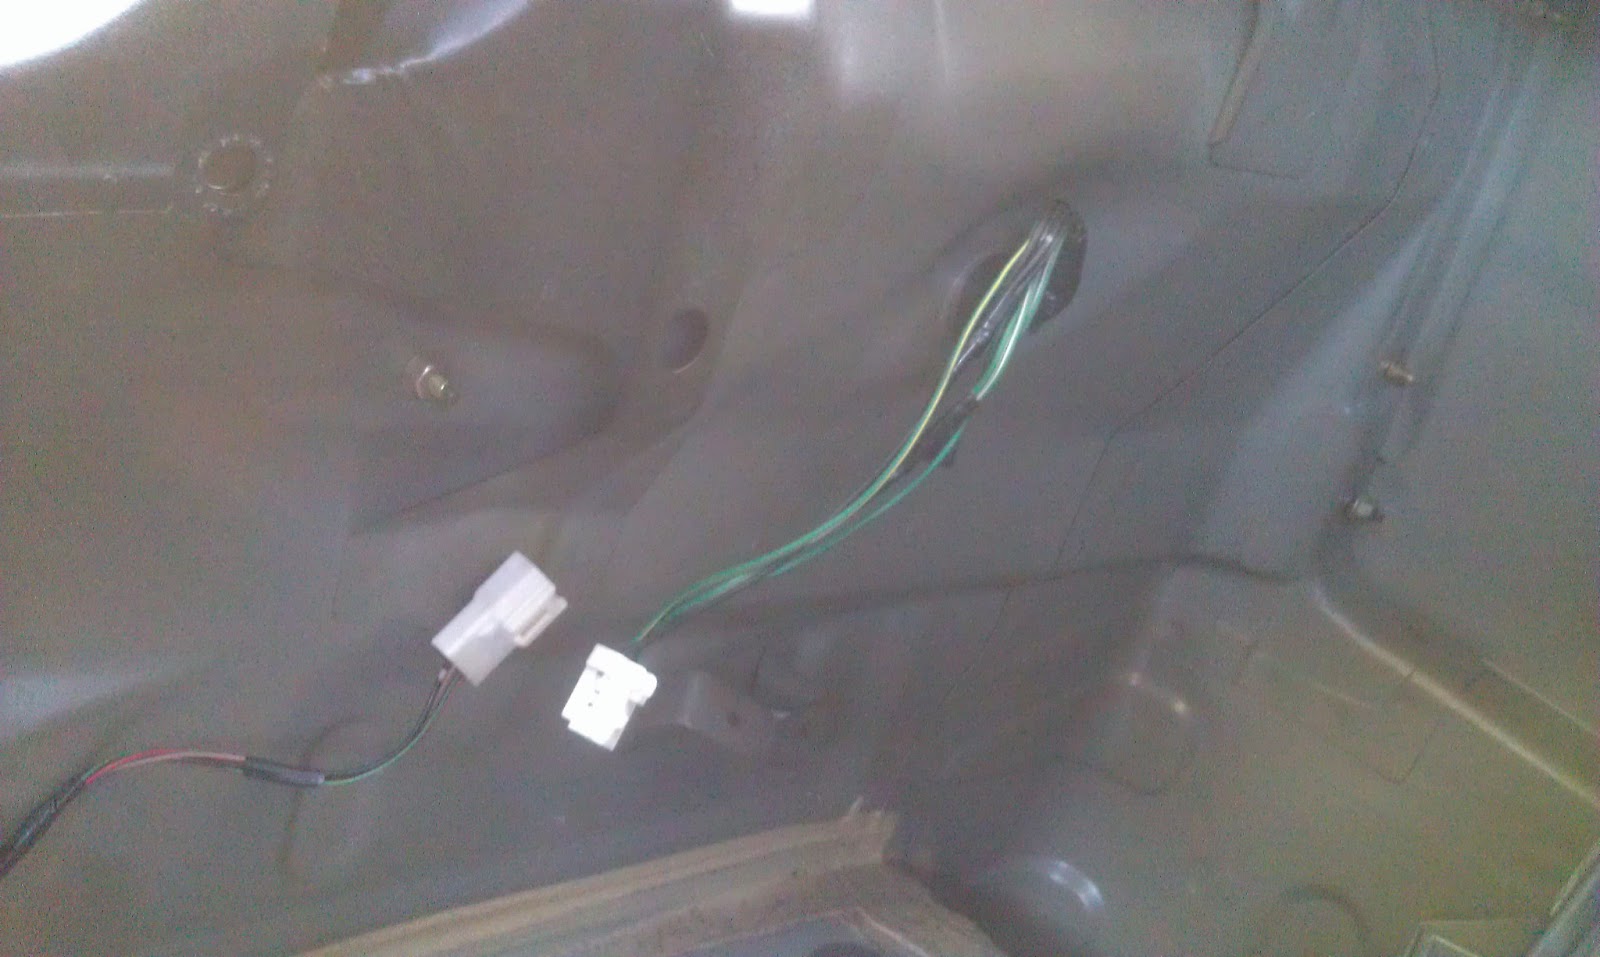
This is what it looks like from behind (the dash). Only 4 LEDs needed to be changed, but out of curiosity/noobness I pulled out some other ones, only to realise at the end, that I only needed to pull out 4. And that the 4 had white housings instead of brown ones (that you see all along the top). So possibly I have some lights which don't work cos I've reinserted them the wrong way.

Basically just remove bulbs and stick it in - make sure you get the polarity right. It looks like I have cold spots but this is only because of daytime. It took me about 3-4 goes of switching around the polarities to get everything right - and this meant plugging and unplugging the looms. Painful stuff....

Once the dash was all done, it was onto the triple gauges. Pretty simple, just remove aircon vents and some screws and the whole thing just comes right off

After that was the A/C unit itself. I decided to have the buttons red and the LCD white, but I got sent all red instead (this is being rectified).

 You need to take apart the entire A/C unit to actually get to the face. But it's not difficult at all. And there we go, red LCD.

 All up, this took about 3 hours no joke. Most of it was spent taking apart/putting the car back together and/or testing it to make sure the lights worked. The installation itself is easy. Having done this, I'm more confident now and feel good that I was able to achieve this. Pretty happy as also that means a few things are ticked off my to-do list!


The iconic twin circles

Alright, so last week my stock tail lights arrived from overseas. Super fast, I must say. Might link the seller from ebay or something, they deserve the props. Lack a little in communication but however good price and packaging and postage! Onto the lights themselves.

WARNING: Lots of pictures ahead. If you like pictures you'll like this. If you have slow internet, you won't.

So. First up was removing the boot trim. This didn't require full removal, just the little clips that hold it in place so that the trim was flexible so that I could peel it back to unbolt the tail lights.


Next step was to disconnect the taillight itself and then unbolt it. Very simple.


Then, off with the tail light. Just comes right off. Then there are the two 'new' ones! Very iconic and LOVE the proper circles.


Then, it was a simple case of putting it back on, pulling the plug through, bolting it back on, and putting the clips in the trim back. It did take over an hour to do though.


And voila, back to stock lights. Super sexy!

Just a comparison pic of the before and after. Man, no wonder I only wanted to drive at night when you couldn't see the pink. It was a well spent evening. The next day, I did the interior dash lights because they were also waiting for me on the Friday when I got home =D - more in the next post.


Thursday, January 10, 2013

A Thursday night

So tonight I decided to take Mr.GV out for a spin (it's been 4 whole days!). Well, not really a spin, but you know, take him out for a drive - and oh boy it felt good. So off with his blankets. He wasn't as clean as I thought he'd be, some kind of dust still somehow managed to get through....so possibly he's up for another wash this weekend. The highlight of the night was showing him to my friend. Actually, the highlight of the night was tricking my friend and then springing the surprise on him. HAHAHA.

It went like this. Parked a few streets away. Went to his place. We chatted for a while. Then:

Me: Hey i forgot my wallet, want to come to my car with me to get it?
Him: Sure, let's go.

-Walking-We arrive at the street.

Him: Where's your car?
Me: I dunno.....is this the wrong street? *slowly reaches into bag to get keys*
Him: haha, how do you not know?
Me: *feels the unlock button - presses it* beep beep!
Him: Huh...what??? 0_0

and then I laughed in his face. And he was just stone still for a few seconds.

Classic! I don't think either of us will forget this for a while, if ever. So this is a shoutout to you, and you know who you are!

So anyway, it's Thursday night so tomorrow is Friday. Which means I will change the tail lights back to stock! Fingers crossed it all goes smoothly.

Something which annoys me today though, is when I was putting the seat covers back on, I 90% ripped the velcro strap from one of the covers. So tomorrow night I have another thing to do and that is sew the strap back securely onto the cover.

Will post pictures as I go. Until tomorrow!

Tuesday, January 8, 2013

Good and bad news

Today, I had 2 pieces of news.

The bad: I'd made an order for some stuff from nengun a while ago. The projected delivery date was 7 Jan. However, I got no email saying that my order was completed and shipped by Monday, yesterday. This morning i got an email telling me that 'there was a delay with my order'. Wow. Thanks for that! The next projected delivery date is 18 Jan. Basically a whole 2 weeks away. WTF!

The good: got home from work and MY TAIL LIGHTS HAVE ARRIVED! So freaking happy. Over the moon. Finally, I can get rid of them ghey pink tail lights. I sincerely hope the pink is just a faded red. But then on the other hand what DOESN'T save the aftermarket tail lights is the fact that the two circles are the same size. As anyone should know, the signature tail lights of the 34 have the outer red light larger than the inner one. Here, the LED circles are both the same size. Ghey. Anyway, I was really tempted to skip going to the gym and install these ASAP, but, my conscience told me to squat. So I squatted. Will do some research over the next day or two and get around to installing them - most likely friday night. Perfect! Here's to hoping they work fine - and that installation goes fine! 


A little background

I thought it would be nice to start off with a little bit of a rundown. To list off what the car has on it:

In the engine
- Apexi blow off valve
- Blitz pod filter
- Full Turbo back exhaust with Kakimoto muffler (cannon)

Inside the cabin
- Blue dash and gauge LEDs
- carbon finish nismo gear knob - very scratched though - pioneer head unit.
- nismo seat covers from AXS (the only thing I added)

Exterior
- nismo kit, genuine or not I'm not completely sure, but I do hope so
- hid headlights, the driver side is brighter than the passenger so I think that that's been changed. Would like projectors.
- 17" SSR professor 3 piece rims in chrome finish

That pretty much sums up the car as it came. Previous owner said that he didn't put any of this on, it came that way from Japan. I'm not sure whether to believe him or not, but the only comments I can make are that the interior looks fairly nice whereas the exterior wasn't as well taken care of. One rim is buckled, all rims have rashes. Various dents and scrapes, mostly small, but nevertheless noticeable upon inspection...  Having said all of that, overall condition of the car is quite good and for the 2 weeks that I've owned it, I've loved every second of driving and owning it.

Monday, January 7, 2013

Hi all

After getting my very own 34, I decided to give it its own blog. Here, I'll basically update with thoughts, bits of info, links, pics, etc etc of my car. A little bit like a build thread, but not really in the traditional sense. There are a fair few things I want to change (customise) with this car from the previous owner, so basically, this blog is documenting my journey towards making my car MY car.

Having said that, it's time to get some pictures in...

After buying the car from a private seller, parked it at my friend's house for later pickup. Yes, I can't drive manual but still bought myself a GTT.

Another shot at the same place. Just admiring the car. So square! Love it.

I think this was the day after I got home. Let it air out and wiped down the interior. Got rid of some of the previous 'smells'.

After a quick wash, I believe. No shampoo, just some water and a wipe down. The previous owner hadn't washed it in AGES and the dirt was very visible. After this, it was nice and shiny - but still more work to do.

Basically, the 2 weeks after I got the car I pretty much washed it/cleaned it somehow nearly every 2-3 days. I'm kind of anal like that, but at the same time, it needed it because I needed to make my stamp on the car and also clean out traces of the previous owner. There was a smell - slightly cigarette-ish, but also very cologne-ish which I didn't like and was quite overpowering. Will update more later.